
The Quick Summary
Setting up a Plex Media Server on a dedicated machine sounds straightforward, but standard guides usually gloss over how public networks actually handle Plex initialization. If you just install the package and try to open the web portal, you will be met with an ambiguous "Looking for servers..." error or locked out completely.
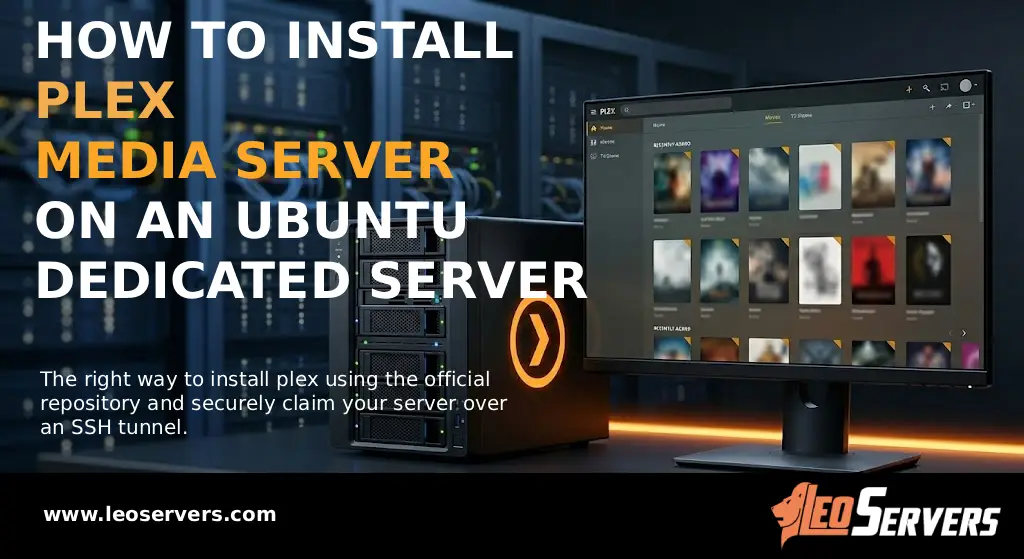
This tutorial shows you how to install Plex using the official repository—ensuring clean, automated system updates—and how to bypass the dedicated server "local setup trap" using a secure SSH tunnel.
Quick Commands Cheat Sheet
For experienced admins who just need the raw implementation sequence, run this block as root or a sudo user:
# 1. Add the official Plex GPG signing key
curl https://downloads.plex.tv/plex-keys/PlexSign.key | gpg --dearmor | sudo tee /usr/share/keyrings/plexmedia64.gpg > /dev/null

# 2. Add the Plex repository to your system sources
echo "deb [signed-by=/usr/share/keyrings/plexmedia64.gpg] https://downloads.plex.tv/repo/deb public main" | sudo tee /etc/apt/sources.list.d/plexmediaserver.list

# 3. Update repositories and install the server daemon
sudo apt update
sudo apt install -y plexmediaserver

# 4. Enable and start the service
sudo systemctl enable --now plexmediaserverWhy Standard Plex Guides Fail on Dedicated Servers
If you copy steps from generic hosting blogs, you will likely run into two massive roadblocks:
- The Manual .deb Download Trap: Many tutorials tell you to download a static
.debfile via wget and install it with dpkg. This is lazy documentation. It means every time Plex releases an update or a security patch, your server won't get it. You are forced to manually download and re-install it every single time. Using the official repository fixes this. - The WAN Initial Setup Lockout: Plex has a strict security rule: you can only run the first-time setup wizard if the request originates from localhost (127.0.0.1) or a local private subnet. When you deploy Plex on a bare-metal dedicated server with a public IP, your browser request is treated as WAN traffic. Plex blocks it for your protection. If a guide doesn't explain how to tunnel past this, the guide is useless.
Prerequisites
Before starting, ensure you have:
- A dedicated server running a clean install of Ubuntu (24.04, 22.04, or 20.04 LTS).
- A user account with full
sudoexecution rights. - An SSH client on your local computer (Terminal on Mac/Linux, or PowerShell/PuTTY on Windows).
Step-by-Step Installation Guide
1 Trust and Map the Official Plex Repository
We want your system to handle Plex updates exactly like it handles core operating system updates. To do this securely, download the official Plex GPG public key and map it to your package manager.
# Download and sanitize the Plex GPG key
curl https://downloads.plex.tv/plex-keys/PlexSign.key | gpg --dearmor | sudo tee /usr/share/keyrings/plexmedia64.gpg > /dev/null

# Register the stable repository architecture stream
echo "deb [signed-by=/usr/share/keyrings/plexmedia64.gpg] https://downloads.plex.tv/repo/deb public main" | sudo tee /etc/apt/sources.list.d/plexmediaserver.list
2 Install Plex Media Server
Synchronize your system's package map with the newly appended Plex repositories, then trigger the core installation.
sudo apt update
sudo apt install -y plexmediaserver
During the installation process, the package manager may ask if you want to replace the Plex repository configuration file with a default one. Type N or choose "keep the local version currently installed" to preserve the custom repository entry we just created.
Verify that the system daemon is up and executing properly:
sudo systemctl status plexmediaserver --no-pagerEnsure the status reads active (running).
3 Access the Setup Wizard (The SSH Tunnel Trick)
This is where most people get stuck. If you visit http://your_server_ip:32400/web, you won't see the server configuration screen. You must trick Plex into thinking you are connecting from inside the server itself.
Open a completely new, clean terminal window on your local home computer (not the server) and run this exact command:
ssh -L 8888:127.0.0.1:32400 your_sudo_user@your_dedicated_server_ipReplace your_sudo_user and your_dedicated_server_ip with your actual server access credentials.
Complete the Claim Process:
- Keep that terminal window open and running in the background.
- Open your local web browser and type this exact address:
http://localhost:8888/web - Log in with your Plex credentials.
The server will now detect that the setup request is coming from "inside the house." Follow the on-screen prompts to name your server and link it securely to your account. Once completed, your server is officially "claimed," and you can access it normally from any device or app without using the tunnel again.
4 Configure Storage Permissions & Hardware Transcoding
1. Give Plex Access to Your Media Folders
Plex runs under its own system user account named plex. If your movie and show directories are owned entirely by your root or administrator account, Plex will fail to index or scan them.
Assuming your media library sits in /mnt/storage/media, grant read and execute access to the Plex daemon:
# Allow the plex user to navigate and read your media directories
sudo chown -R $USER:plex /mnt/storage/media
sudo chmod -R 755 /mnt/storage/media
2. Unlock Hardware Acceleration (Intel QuickSync / NVIDIA)
If your dedicated server features an Intel CPU with an integrated GPU (QuickSync) or a dedicated graphics card, you can offload heavy video encoding workloads from the main CPU. This stops 4K or 1080p transcodes from pinning your CPU cores at 100%.
For Intel QuickSync, add the plex system user directly to the server's local video rendering groups:
sudo usermod -aG video,render plexRestart the Plex server daemon to apply the permission changes instantly:
sudo systemctl restart plexmediaserverUFW Firewall Rules for Plex
If you run Uncomplicated Firewall (UFW) to protect your dedicated server, you need to open the main inbound communication port so your home clients can stream video smoothly.
# Open the primary streaming port
sudo ufw allow 32400/tcp
Eliminate Buffering with Leo Servers Dedicated Power
High-bitrate 4K streams and multiple remote users will easily overwhelm a standard Virtual Private Server (VPS). When several people try to watch media at the same time, virtual environments run out of CPU performance. This leads to constant video freezing and annoying buffering loops.
Leo Servers Dedicated Servers eliminate this problem by giving your Plex setup dedicated bare-metal hardware. You get 100% of the processor power, fast NVMe storage, and unmetered bandwidth. This ensures your media plays instantly, even when multiple devices stream at the exact same time.
Get Your High-Performance Dedicated Server at Leo Servers →