

While running a server on your home PC is possible, it requires technical knowledge, router configuration, and system resources. For those who want to skip the setup and jump straight into the game, Leo Servers provides high-performance Valheim hosting ready in minutes.
However, if you prefer the "DIY" approach, this guide covers every step to install, configure, and secure your own Valheim server.
What You'll Learn
System Requirements
Step 1: Install SteamCMD
Step 2: Download Valheim Server Files
Step 3: Configure the Startup Script
Step 4: Network & Port Forwarding
Step 5: Launch the Server
Step 6: How to Join
Server Administration
Conclusion
System Requirements
Hosting a server requires your machine to process the game logic for every connected player. If your hardware struggles, every player will experience "rubber banding" or lag.
Recommended Specs for a Lag Free Experience:
-
CPU: 4 Cores @ 3.5 GHz+ (High single-core performance is vital).
-
RAM: 8GB Minimum (16GB recommended for established worlds).
-
Storage: 5GB+ SSD (Do not use an HDD; world loading times will be too slow).
-
Network: Wired Ethernet (Wi-Fi is not stable enough for hosting).
-
OS: Windows 10/11 or Windows Server.
Pro Tip: Hosting and playing on the same PC puts a heavy load on your CPU. For the smoothest gameplay, we recommend a separate Leo Servers Dedicated Gaming Plan so your gaming rig can focus on graphics, not server calculations.
Step 1: Install SteamCMD
SteamCMD is a lightweight command-line version of Steam used to download server files.
-
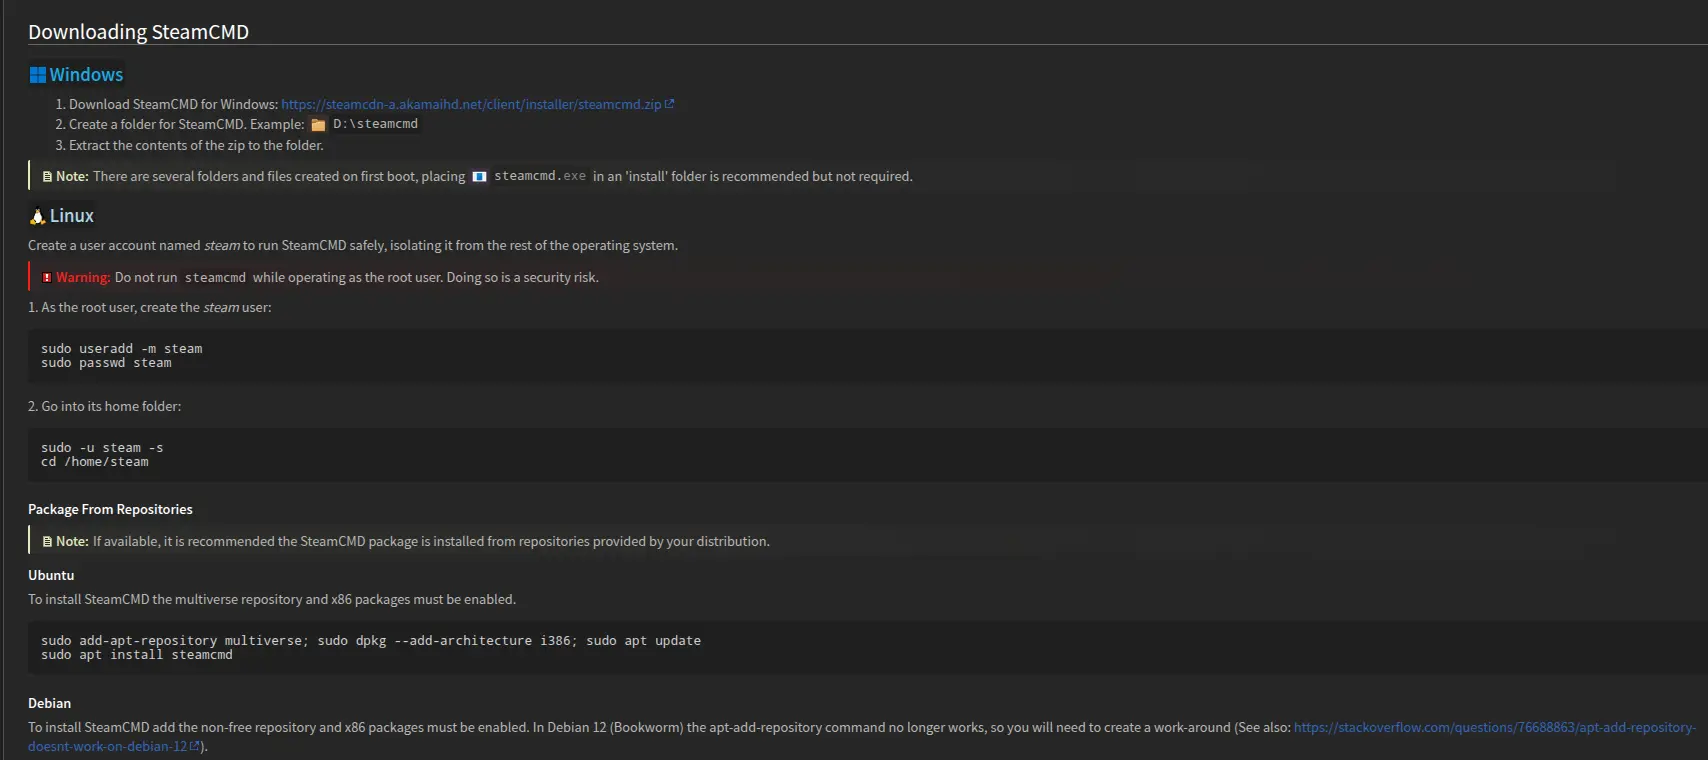
Download: Get steamcmd.zip from the official Valve Developer Community.
-
Extract: Create a folder named
C:\steamcmdand extract the zip contents there. -
Install: Double-click steamcmd.exe. A command prompt will open and download necessary updates.
-
Log In: When you see the Steam> prompt, type the following and press Enter:
login anonymous
Step 2: Download Valheim Server Files
Once logged in, you need to download the Valheim server application (App ID: 896660).
Type the following command in the SteamCMD window:
app_update 896660
-
Wait: This may take several minutes depending on your internet speed.
-
Finish: When you see "Success! App '896660' fully installed," type exit to close the window.
Step 3: Configure the Startup Script
This is the most critical step. You must create a launch script that defines your server's rules.
-
Navigate: Go to
C:\steamcmd\steamapps\common\Valheim Dedicated Server. -
Duplicate: Find the file named start_headless_server.bat. Do not edit this file directly. Instead, copy and paste it, then rename the copy to start_myserver.bat.
-
Why? If you don't do this, the next game update will overwrite your settings.
-
Edit: Right-click start_myserver.bat and select Edit (use Notepad).
-
Modify: Change the parameters to match your preferences. Here is a modern configuration example:
valheim_server -nographics -batchmode -name "MyLeoServer" -port 2456 -world "NewWorld" -password "Secret123" -crossplay -public 1
Key Parameters:
-
-name: The server name visible in the browser.
-
-world: The name of your save file.
-
-password: Minimum 5 characters. Do not include the server name in the password.
-
-crossplay: (Recommended) Adds support for Xbox/GamePass players and creates a "Join Code" for easy access.
Save the file.
Step 4: Network & Port Forwarding
If you are hosting from home, players outside your house cannot connect unless you open the "gates" (ports) of your network.
1. Windows Firewall
-
Search for "Allow an app through Windows Firewall".
-
Click Change Settings > Allow another app.
-
Browse to valheim_server.exe in your installation folder and click Add.
-
Ensure both Private and Public checkboxes are ticked.
2. Port Forwarding (The Router Step)
This step varies by router model (Asus, Netgear, TP-Link, etc.), but the logic is the same:
-
Log into your router's admin panel (usually 192.168.1.1 or 192.168.0.1 in a browser).
-
Find the Port Forwarding or Virtual Server section.
-
Create a new rule:
-
Port Range: 2456-2457
-
Protocol: UDP (Valheim strictly uses UDP).
-
IP Address: Your PC’s local IPv4 address (e.g., 192.168.1.50).
Note: Port forwarding exposes your home IP to the internet. Leo Servers handles all network security and DDoS protection automatically, removing the need to touch your router settings.
Step 5: Launch the Server
-
Double-click your custom start_myserver.bat file.
-
A black console window will appear. It may take a minute to generate the world.
-
Look for the message: "Game server connected".
-
If you enabled -crossplay, look for the Join Code (a 6-digit number) printed in the console logs.
Step 6: How to Join (Crucial Step)
This is where most tutorials confuse users. How you join depends on where you are located.
For You (The Host)
Since you are on the same PC as the server, you cannot use your public IP.
-
Open Valheim > Join Game.
-
Click Add Server.
-
Enter: 127.0.0.1:2456 (or localhost:2456).
For Your Friends (Remote)
Your friends cannot use the 192.168 address. They need your Public IP.
-
Google "What is my IP".
-
Send that address to your friends (e.g., 45.12.19.123).
-
They must enter: 45.12.19.123:2456
-
Alternative: If you used the -crossplay argument, simply send them the Join Code from the console. They can enter this code in the "Join Code" tab to connect immediately without IP addresses.
Server Administration
To manage your server, navigate to the config folder. Note that the save location changed in recent updates to support Steam Cloud.
Location: C:\Users\YourUser\AppData\LocalLow\IronGate\Valheim
-
adminlist.txt: Add a player's SteamID64 (one per line) to grant them admin powers. This allows them to use the devcommands console (F5) to kick, ban, or save the world manually.
-
bannedlist.txt: Add SteamIDs here to block specific players.
-
permittedlist.txt: If configured, the server becomes a whitelist; only IDs in this file can join.
Conclusion
Running a dedicated server gives you total control over your Valheim world, but it comes with the responsibility of hardware maintenance, network security, and electricity costs.
For serious gameplay without the headache, Leo Servers is the premier choice.
-
High Performance: We offer Bare Metal servers tailored for gaming workloads.
-
Always Online: Your world never pauses, even when your PC is off.
-
Security: Advanced DDoS protection included.
-
Hardware: Choose from the latest Intel or AMD CPUs o handle massive builds and large player counts.
Ready to upgrade your Viking experience? Check out our Leo Servers Dedicated Gaming Plans today and start your saga instantly.
Discover Leo Servers Dedicated Server Locations
Leo Servers servers are available around the world, providing diverse options for hosting websites. Each region offers unique advantages, making it easier to choose a location that best suits your specific hosting needs.